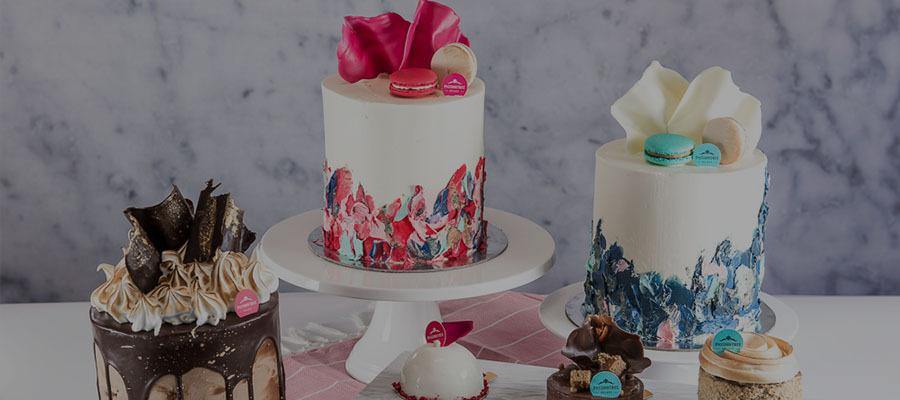
How to get sharp edges on cakes
What is a cake if not sharp, eh? So here are a few tips to getting that sleek and sharp edge to your buttercream/ganache frosted cakes.
Method 1 (Using Acrylic Disks):
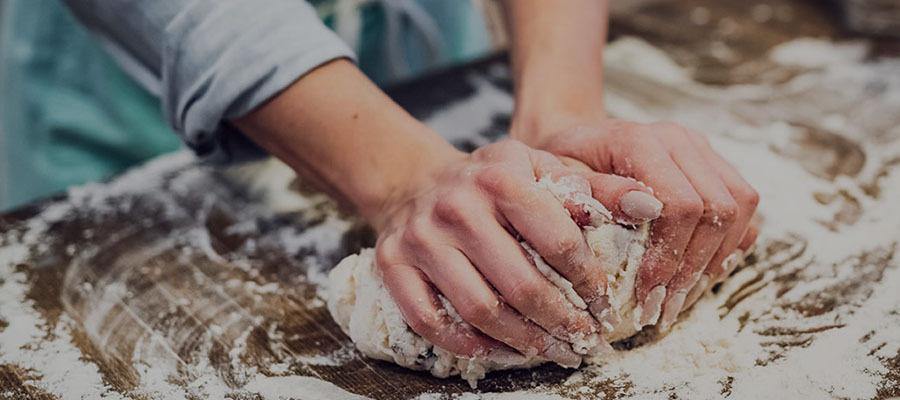
1.So as presumed, start off by baking your cakes with the recipes that work best for you.
2. After baking and cooling, flatten out the domes if any.
3. Use a good quality cake board and stick the first layer of cake down using frosting.
4. Now layer up the cake, filling with your desired frosting/fillings until you reach the top and make sure to invert the top layer to get that flat top.
5. Now using a spatula, add a thin layer of frosting to the sides and the top to crumb coat i.e. lock in all the crumbs.
6. Now place an “Acrylic Disk” on top making sure to place it in the center using the inner border as a guide and chill the cake until the frosting is firm.

7. Take the cake out of the refrigerator and start applying frosting to the sides until it is covered, frosting the top half first and then the bottom half. Using “Sharpie”, smooth out the sides. Fill in any gaps and smooth again until completely smooth. Make sure the scraper is upright and aligned with the disc on top. Use a very light touch while scraping off excess frosting.
8. Once you are satisfied with your sides, place the cake in the fridge/freezer until the frosting is firm-ish, you don’t want it to be so hard that chunks of frosting come away when you lift the acrylic disk but you want it to be hard enough to be easily sliced by a knife.
9. Now slide a knife under the disk and rotate your cake to free the acrylic disk from all sides. It lifts right off! Leaving you with sharp edges that dreams are made of!
10. Finally, just apply a layer of frosting on top and smooth it out. Go around the sides with the “Detailing Sharpie” one more time if needed. It really helps smooth out tiny imperfections leaving you with gorgeous looking cakes!
Method 2 (Without Acrylic Disks):
(Follow steps 1-5 from Method 1)
6. Once the crumb coat is set, take the cake out of the refrigerator and apply a final coat of frosting to the top and smooth it out by using a steady hand and rotating the cake on a turn table.
7. Once the top is done, start applying frosting to the sides, covering all around.
8. Using “Sharpie”, start smoothing out the sides and scraping away excess frosting. Keep the angle of the scraper very close to the cake so that any gaps in the frosting can be automatically filled in by the excess frosting on the scraper.
9.Once you are satisfied with the sides, place the cake in the freezer for 5-10 minutes to firm up the frosting.
10. Take out the cake and dip a sharp knife in hot water and cut off the lip of excess frosting from the top to get those sharp edges and a glorious finishing on the cake.
- Happy Caking!
Related Posts
A Cake Decorator's Top 10 Tools
Want to turn your baking hobby into a money making business?